I’ve designed and made a few hundred free lace scarves (you can see examples of these at https://www.knitsandthat.com/catalog/scarves/wearable-art/.
I thought I’d share my experience for those of you interested in making one of your own. It involves a lot of sewing but a simple, straight stitch can be used – a basic sewing machine works just fine!
First off, what materials will you need? Any water-soluble fabric stabilizer will work. I’ve tried several brands, including Sulky, but my preference is definitely Mokuba. You can purchase Mokuba free lace kits online or at local yarn and quilting shops. The kit contains 2 pieces: a sticky bottom piece and a clear film to place on top.
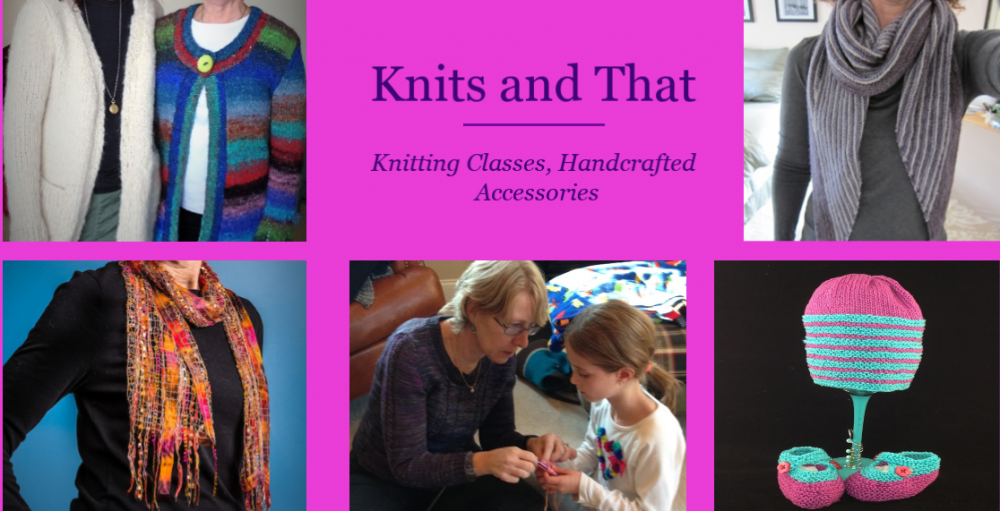
Collect ribbon, decorative yarn, fabric, or thread to make your piece – you don’t need much so scraps (or leftovers from finished projects) work great. Hint: I pick out one primary yarn and build the scarf with other materials that compliment its color. I also like to use a variety of textures.
Step 1: Lay out your piece of water-soluble fabric stabilizer on a table or other flat surface. Make sure it is free of clutter, dirt, and wind. Gently peel the top layer off to expose the adhesive.
Step 2: Slowly place your border material along the outside perimeter of the scarf, starting at the center of one long side. I use a ribbon yarn for the outside edge, which gives it a nicely defined border. Continue gently pressing the ribbon in place going around the entire perimeter of the scarf, ending where you started by overlapping approximately ¼”. When placing the threads on the sticky surface, avoid touching the paper. Remember, though, that you can always lift up and start over if you don’t like the placement.
Step 3: Now the fun part – gently place your other yarn/threads in whatever design you’d like. I’ve done simple straight lines, zig zags, swirls. I like using long threads with minimal cutting, which makes it easier to sew everything in place. If you want fringe, simply overhang the scarf ends with a length of yarn (about 8”). After the piece is finished, if you decide against the fringe, you can simply cut it even with the scarf end.
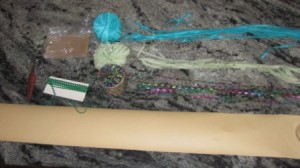
Step 4: Once you’re finished building your piece, line the clear film with one end of the scarf. I find that wrapping the film over a small piece of cardboard makes this process easier to line up. And it enables you to slowly unfold the film, ensuring it completely covers the bottom adhesive layer.
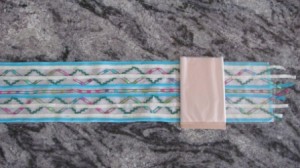
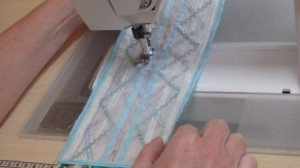
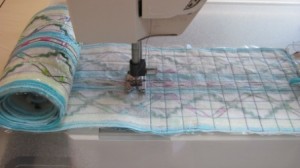
Step 5: Sewing time! I like using a decorative thread – my preference is a rayon “twist” thread, which twists 2 thread colors together. This adds a nice flair to the finished scarf. Load your sewing machine with the thread and begin sewing your scarf, centering the needle over the outside ribbon starting at the left side of one corner. Sew all the way around the perimeter to where you began. Then turn your work 90 degrees and sew past the corner by about 5/8” inch. Turn again and sew the entire length of the piece. (Make sure your needle is in the work before lifting the foot and turning.) Continue in this fashion until the length of the scarf is sewn all the way across (separated by approximately 5/8” between each line).
Step 8: Now begin sewing the width of the scarf by turning the work every 5/8” inch and sewing across. There will be places where the sewing will overlap previously sewn parts of the scarf. Get as close to the previous line but don’t worry if it’s not right on top.
When you’re done sewing – which will take a bit of time! – tie all of your ends together in square knots. Many times I don’t sew the entire piece in one sitting.
Step 9: Rinse out the adhesive and film – let your finished piece sit in a basin of warm water for about 1-2 hours, periodically replacing the water. It can take a bit of time to remove all the adhesive. Once it is gone (you’ll know by the feel if the scarf), place a teaspoon of fabric softener in some fresh warm water and let the scarf soak for another 15 minutes. I find that the fabric softener does a great job of softening the finished scarf making it more comfortable to wear.
Step 10: Gently wring out the water, roll the scarf in a dry towel, and then put it on a coat hanger and hang in a sunny window until dry. Finally, iron the scarf on a cool setting with a thin cloth placed over it.
Enjoy!
